· Kalpa Madhushan · development · 3 min read
How to Create and Publish a TypeScript NPM Package (Step-by-Step Guide)
Learn how to create a reusable TypeScript library and publish it to NPM — with build tools, testing, versioning, and best practices.
🧭 Why Publish to NPM?
Publishing to npmjs.com lets other developers reuse your code in their projects by simply installing your package. Whether you’re building a utility, UI component, or CLI tool, this guide will help you do it the right way — using TypeScript, testing, and build pipelines.
🧱 Step 1: Setup Your Project Folder
mkdir my-awesome-package
cd my-awesome-package
npm init -y
This creates a package.json file with default values.
🧩 Step 2: Add TypeScript
Install TypeScript and initialize the config:
npm install -D typescript
npx tsc --init
Then configure your tsconfig.json:
{
  "compilerOptions": {
    "target": "ES2020",
    "module": "ESNext",
    "moduleResolution": "node",
    "declaration": true,
    "outDir": "dist",
    "strict": true,
    "esModuleInterop": true,
    "forceConsistentCasingInFileNames": true
  },
  "include": ["src"]
}
📁 Step 3: Setup Folder Structure
my-awesome-package/
├── src/
│   └── index.ts
├── dist/             # compiled output
├── tests/
│   └── index.test.ts
├── README.md
├── LICENSE
├── package.json
├── tsconfig.json
💡 Step 4: Write Your Code
Example: src/index.ts
export function greet(name: string): string {
  return `Hello, ${name}!`;
}
🧪 Step 5: Add Unit Testing (Vitest or Jest)
We’ll use Vitest for fast and modern testing:
npm install -D vitestExample test: tests/index.test.ts
import { describe, it, expect } from 'vitest';
import { greet } from '../src';

describe('greet()', () => {
  it('should greet the user', () => {
    expect(greet('Kalpa')).toBe('Hello, Kalpa!');
  });
});
Run tests:
npx vitest run🏗️ Step 6: Build the Package
Add this to package.json:
"scripts": {
  "build": "tsc",
  "test": "vitest"
}
Now build the code:
npm run buildThis generates .js and .d.ts files in the dist/ folder.
✍️ Step 7: Add README, License, and Metadata
README.md
Explain what your package does, with usage examples.
# my-awesome-package

A utility to greet users with love 💖

## Install

```bash
npm i my-awesome-package
Usage
import { greet } from 'my-awesome-package';

console.log(greet('Kalpa')); // Hello, Kalpa!
### `LICENSE` (MIT recommended)

```txt
MIT License

Copyright (c) 2025 Kalpa

Permission is hereby granted...
🧹 Step 8: Clean Up with .npmignore or "files"
Avoid pushing dev files (tests, media, tsconfig) to NPM:
Option 1: Use .npmignore
tests/
tsconfig*
media/
*.test.ts
vitest.config.ts
Option 2: Use "files" in package.json
"files": [
  "dist/",
  "README.md",
  "LICENSE"
]
✅ "files" is preferred for control.
🔐 Step 9: Login to NPM
If you haven’t logged in before:
npm loginCreate an account at https://npmjs.com/signup if needed.
🚀 Step 10: Publish to NPM
✅ Unscoped package
npm publish --access public✅ Scoped package (e.g., @kalpa/my-awesome-package)
npm publish --access public🔍 Step 11: Verify the Package
After publishing, verify:
- On https://www.npmjs.com/package/your-package-name
- Install it into another project:
npm install your-package-nameUse it like:
import { greet } from 'your-package-name';
console.log(greet('world'));
🧪 Bonus: Preview Package Before Publishing
Run this to see what would be published:
npm pack --dry-run🎯 Tips for Success
- ✅ Always add
typesto yourpackage.jsonfor TS users. - 🛡️ Use semantic versioning (
1.0.1,1.1.0, etc.) - 🚫 Avoid committing
dist/unless needed - 🧪 Test every function before publishing
- 📦 Use GitHub for your README media (don’t push images to npm)
🏁 Final Thoughts
Publishing your own npm package is an exciting step toward becoming a professional open-source contributor or library author. With just TypeScript and a few best practices, you can share powerful utilities and tools with the world.
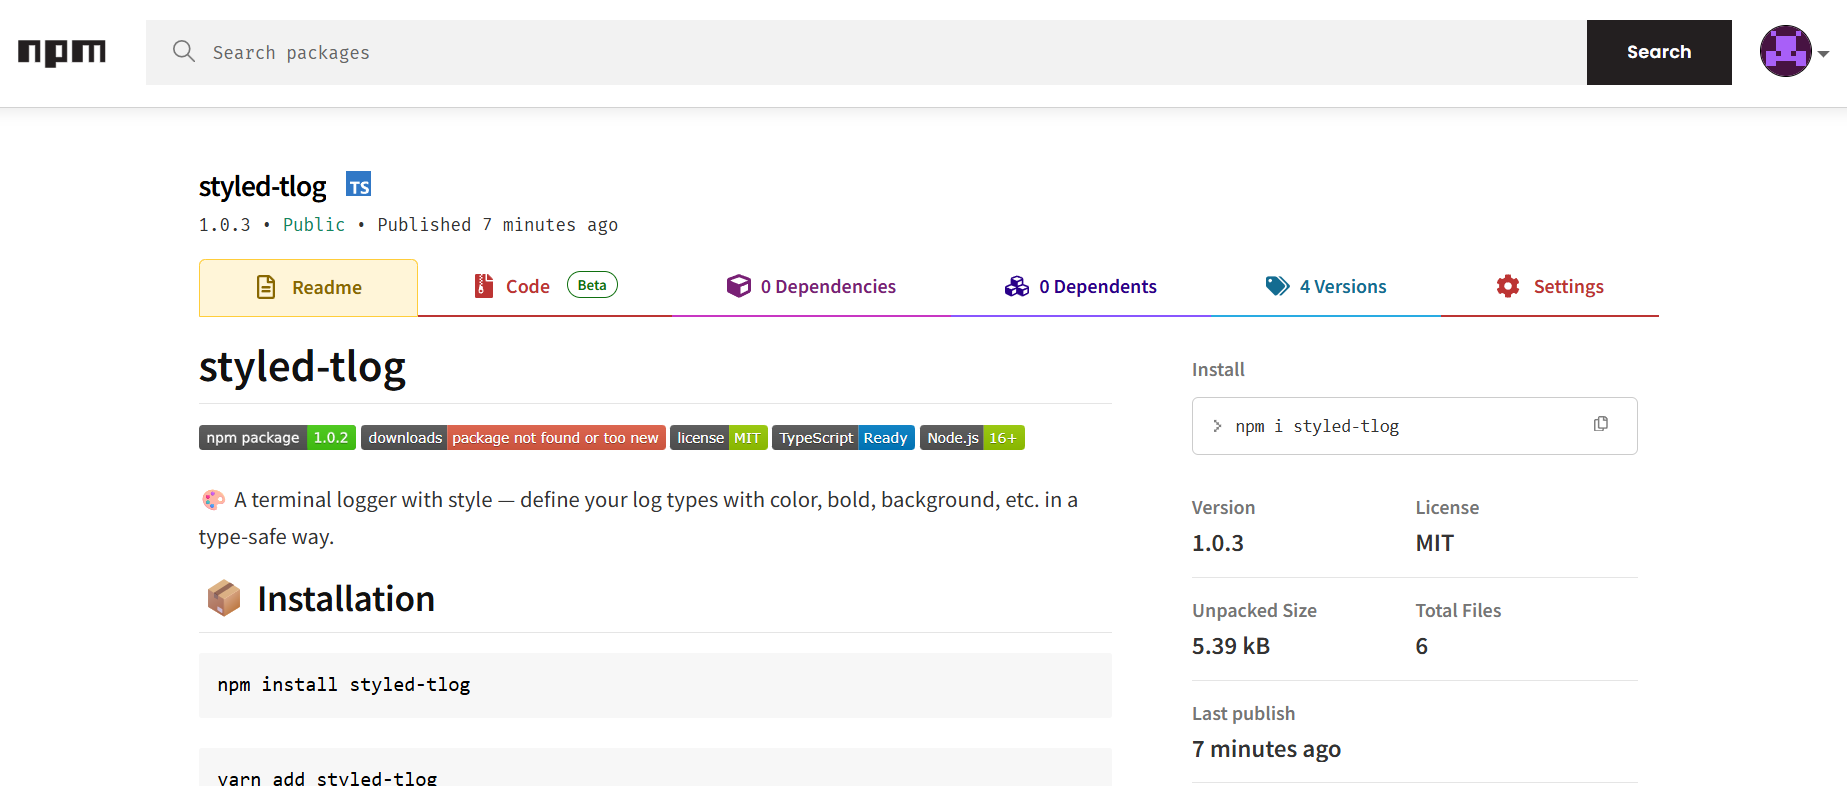
📌 Want to see an example?
Check out styled-tlog — a customizable, styled terminal logger built in TypeScript.